Step-by-Step Installation Guide for Living in a Bubble Products
All of our products offer seamless and effortless setup. Easy and quick installation in just seconds!
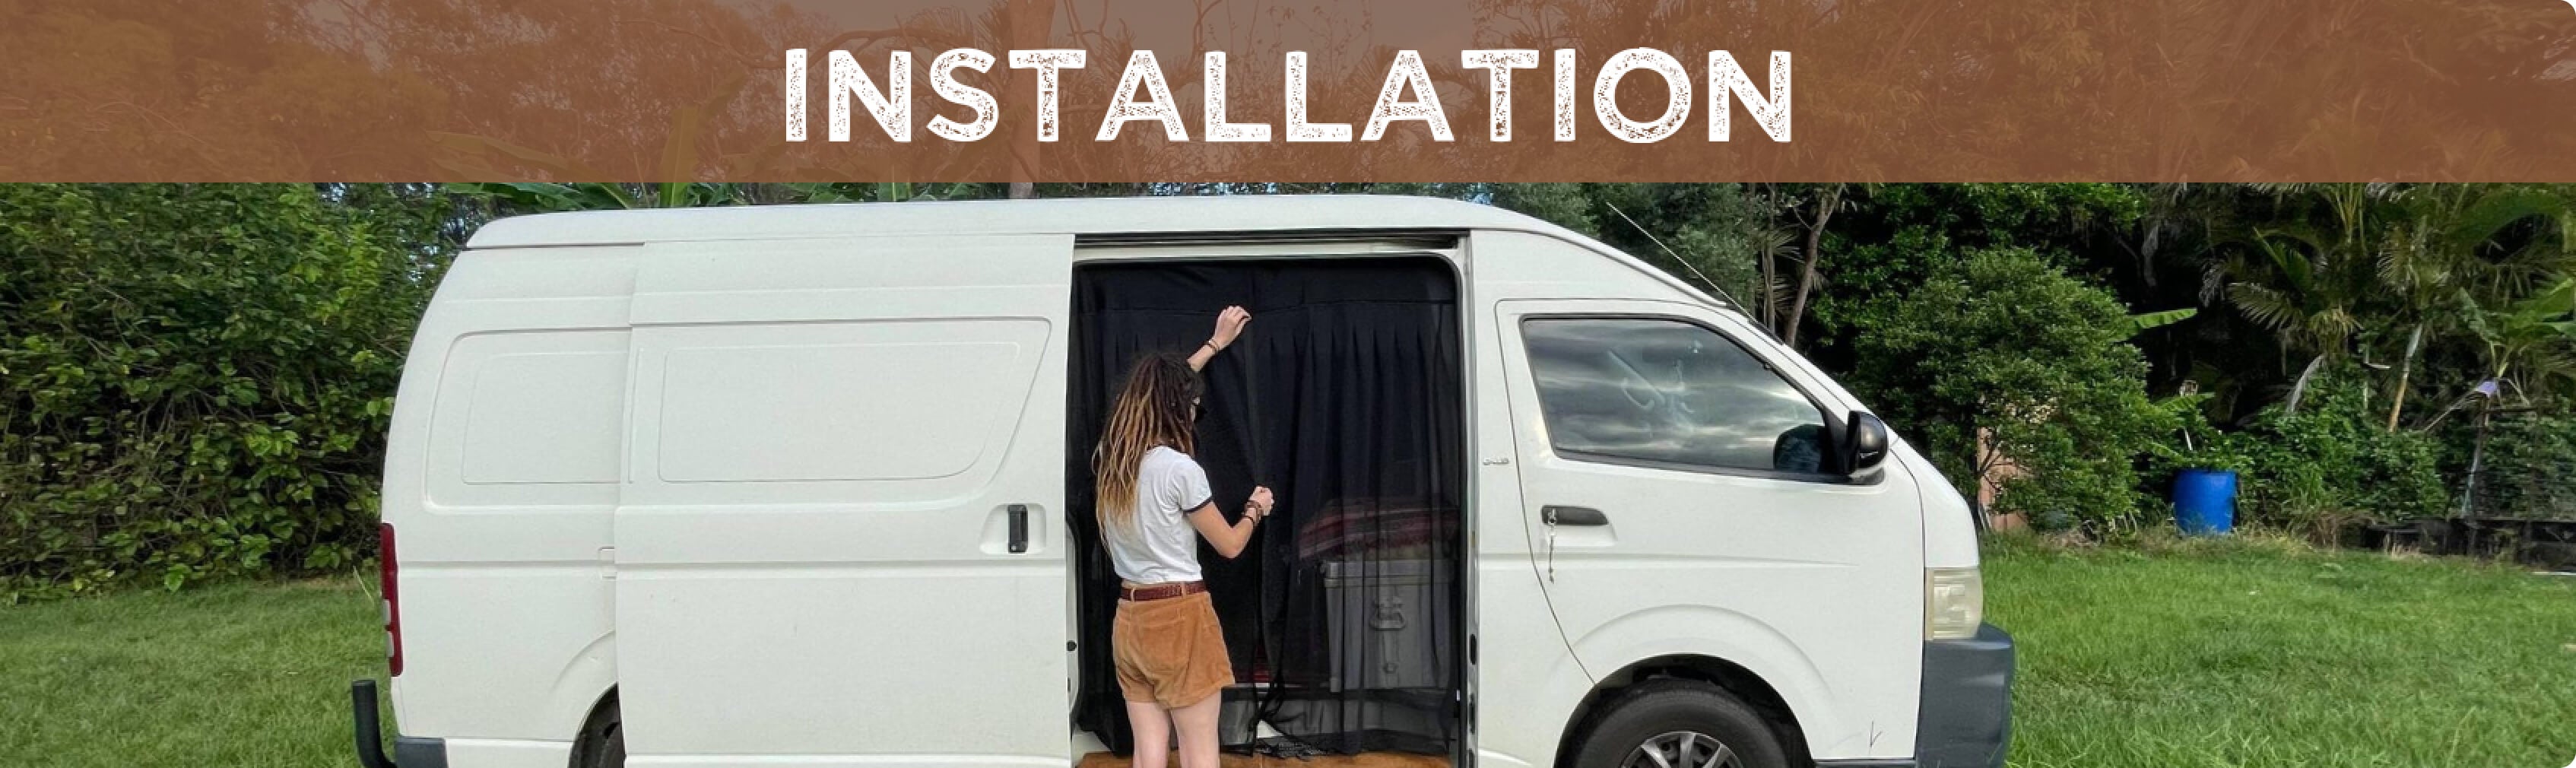
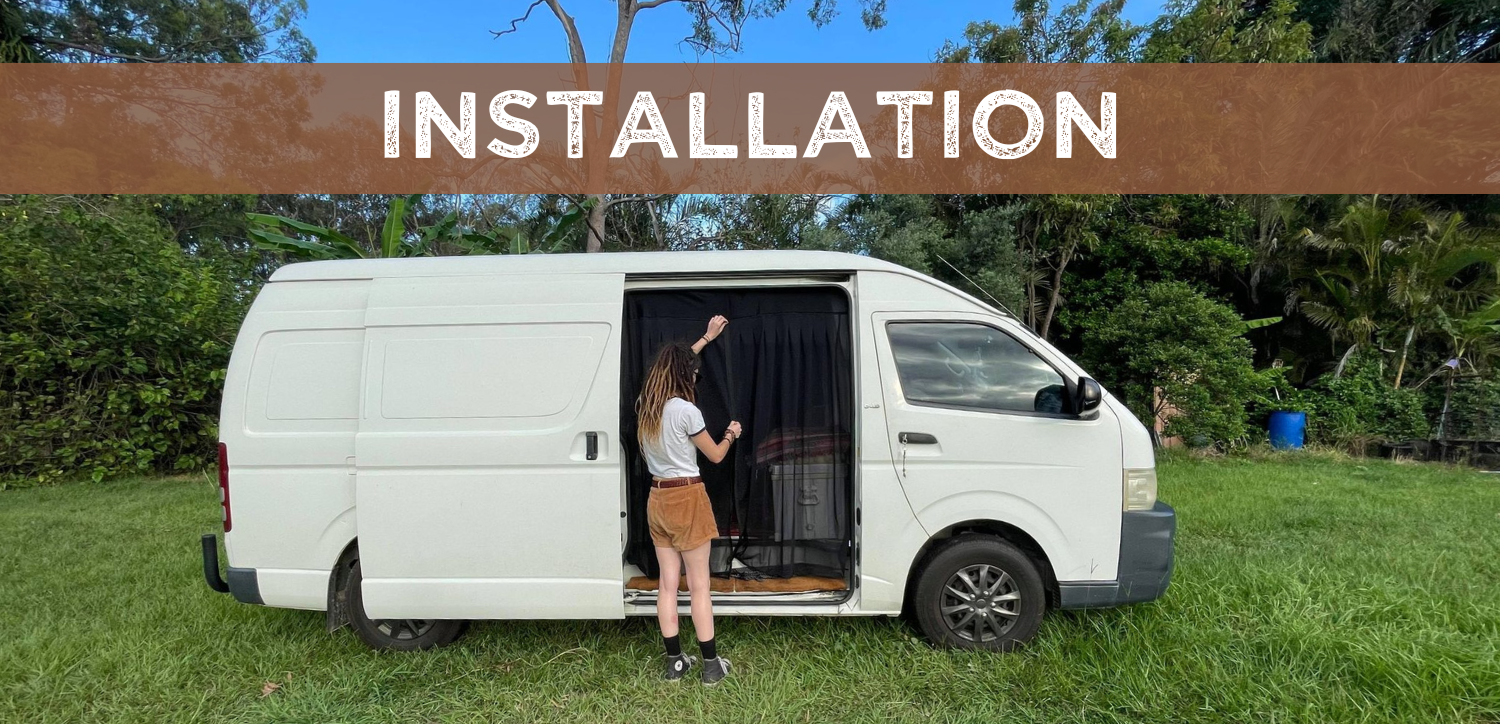
MAGNETIC FLY SCREENS
Magnetic Side Door Flyscreen Guide
1. Hold your Living in a Bubble side door flyscreen upright with the pleated end at the top.
2. Align the center of the flyscreen with the center of the van door. Beginning with the center, magnetically attach the top of the flyscreen to the top of your van's door frame.
3. Continue attaching the flyscreen's edge along the sides of the door frame.
4. Once the top and side magnets are attached to the door, straighten the flyscreen and attach the magnets at the bottom of the flyscreen.
Tip: Make sure to tuck the magnets around the rubber seals and be mindful of the door closure mechanism. When you are ready to leave and hit the road again, simply lift up the bottom of the flyscreen and tuck it out of the way. This will prevent it from getting caught in the track when you close the van door.
The extra magnets provided are to be used in any part of the vehicle that is not metal.
For more installation methods and pictures, view our PRO-TIP here.
Magnetic Rear Door Fly Screens Guide
1. Hold your Living in a Bubble rear door flyscreen upright with the pleated end at the top.
2. Align the center of the flyscreen with the center of the van door. Magnetically attach the top of the flyscreen to the top and to the sides of your van's door frame.
3. Once the top and side magnets are attached to the door, straighten the flyscreen and attach the magnets at the bottom of the flyscreen.
They have these convenient double zips so you can access the inside or outside of the van from in the bed and also from the rear to get into the back of your van.
Tip: Make sure to tuck the magnets around the rubber seals and be mindful of the door closure mechanism. When you are ready to leave and hit the road again, simply lift up the bottom of the flyscreen and tuck it out of the way. This will prevent it from getting caught in the track when you close the van door.
The extra magnets provided are to be used in any part of the vehicle that is not metal.
For more installation methods and pictures, click here.
Front Window Fly Screens Guide
1. Open your car's front door.
2. Slip the Living in a Bubble front window flyscreen over the top of the window frame.
3. Pull the flyscreen down and attach the magnetic strip to the car door.
4. Fasten and tighten the velcro around the base of the mirror mount.
5. Take the two loose ends and place them inside the door towards the interior side of the van.
6. Attach and tighten the loose ends with the buckle and toggle fasteners on the interior side of the van to create a tight fit.
Window Covers
Windshield Cover Guide
- With the black fabric facing up, fully open your Living in a Bubble windshield and place it on the dash of your van.
- Vans with rear view mirror: Wrap it around the rear view mirror, one side at a time. Use the magnets in the centre to seal around the mirror.
- Fold the side flaps inwards to ensure a proper seal and block light completely.
- Pull down the sun visors to hold the cover in place.
NOTE: If you have a Mercedes Sprinter, you can attach the provided drawstring hooks under the headliner for extra hold.
Driver / Passenger Window Covers Guide
1. Begin with the door open to ensure proper alignment.
2. With the black side facing the glass, place the cover onto the window. The magnets will automatically attach to the metal sides of the window frame.
3. Ensure all edges are securely aligned on the window.
4. If there's a stitching line at the bottom of the cover, fold the cover along it to ensure a perfect fit.
Driver / Passenger Window Covers Guide (RAM Promaster / Fiat Ducato)
1. Remove your Living in a Bubble window cover from the packaging.
2. With the black side against the glass, place the cover on the window (passenger and driver door windows). The magnets will easily latch to the metal sides of the window
frame.
3. Finally, ensure all edges are securely aligned on the window.
Behind The Driver Window Cover Guide For Toyota HiAce Commuter with headliner
1. Install the window cover as you would normally, fitting it into the window frame.
2. Locate the second line of magnets on the window cover. This is the one below the top edge, not the top line of magnets. You should be able to feel one magnet on each side of this line.
3. Take the two metal tabs provided. You will attach these to the vehicle's frame, aligning them with the magnets on the second line of the cover.
4. To find the correct placement for the metal tabs, make sure the window cover is installed, and then open the top edge slightly.
5. Peel the backing off of one of the metal tabs to expose the adhesive.
6. Slowly position the metal tab so it is directly over the magnet on the second line of the cover (on one side). The magnet will help guide the tab's placement so that the two will connect when the cover is closed.
7. Press the metal tab firmly onto the vehicle's frame where it naturally adheres to the magnet. The magnet will ensure it's in the correct spot to grab the tab.
8. Repeat steps 5-7 for the second metal tab on the other side of the window, aligning it with the second magnet.
9. Once both metal tabs are secured to the frame, the window cover will now fully attach to these tabs at the top, which minimizes light coming from the area near the headliner.
10. To remove the cover, simply pull it off; the metal tabs will remain on the frame, ready for the next time you install the cover.
Sliding Door Window Cover Guide
- With the black side against the glass and the T slit facing down, place the cover on the window. The magnets will easily latch to the metal sides of the window frame.
- Ensure all edges are securely aligned on the window.
- Fold back the slit to take a peek outside without removing the entire cover.
Full Metal Rear Door Window Covers Guide
1. With the black side against the glass, place the cover on the back door window. The magnets will easily latch to the metal sides of the window frame.
2. Ensure all edges are securely aligned on the window.
Full Plastic & Half Plastic Rear Door Window Covers Guide
Full Plastic Rear Door
1. Align the metal tabs with the magnets on the window cover and press them into place. Ensure the 3M adhesive side of the tab is facing outward to stick to the window frame.
2. Clean the glass area around your window frame using the provided alcohol pad.
Focus on the glass section closest to the plastic frame, as this is where the metal tabs will be installed.
3. Hold the window cover against the window to find the correct tab placement. Align the cover so that the built-in magnets sit against the glass near the plastic frame. Mark or take note of these spots, this is where you'll attach the metal tabs.
4. Remove the backing from the tape and attach it to the clean window frame, aligning it with the magnets. Repeat for all magnet locations.
Note: Be cautious not to touch the adhesive side of the tab, as moisture from your hands may affect the bond. For best results, allow the metal tabs to fully cure, it reaches 50% strength in 20 minutes, 90% in 24 hours, and full strength in 72 hours. Avoid removing or stressing the metal tabs during this period.
5. Carefully attach the window cover to the frame.
Half Plastic Rear Door
1. Clean your window frame using the provided alcohol pad.
2. Hold the window cover against the window frame to find the right placement for the metal mounting tabs. Align them with the magnets inside the window cover trim.
3. Remove the backing from the tape and attach it to the clean window frame, aligning it with the magnets. Repeat for all magnet locations.
4. Carefully attach the window cover to the frame. 5. Be cautious not to touch the adhesive side of the tape, as the moisture from your hands may damage the adhesive.
Rear Door Window Cover For Toyota HiAce H200/H300 Guide
1. Use your hand to feel along the top inside edge of the window frame to find the locations where the magnets are embedded in the window cover. You can confirm the locations by seeing where the metal tabs are attracted to the cover's magnets.
2. Ensure the adhesive side (tape) of the small metal tabs is facing up.
3. Peel the backing off the first metal tab. Locate the corresponding magnet on the window frame and attach the tab to the top edge of the window frame, making sure it is placed very close to the top.
4. Continue to peel, locate the magnet, and attach each remaining metal tab one by one to the top of the window frame. Work slowly and align them precisely.
5. Once all the metal tabs are in place, the magnets on the window cover will attract them, securing the top of the cover and preventing it from sagging.
RV Caravan Door Window Shade Guide
1. Clean the frame of the door window for velcro installation.
2. Attach velcro straps to the window frame.
3. Place the window shade on top of the velcro.
4. You can now roll it up and the magnets will make it stay in place.
SKYLIGHT & ROOF VENT COVER
Roof Fan Vent Cover Guide
1. Unscrew the vent fan flange from the inside of the van.
2. Place the fan cover on any flat surface with the LOGO SIDE facing down
3. Place the vent fan flange on top of the fan cover. Make sure the sides are aligned with each other.
4. Place the provided magnets along the plastic flange. They will snap in alignment with the magnets sewn in the fan cover.
5. Use tape to secure the loose magnets on the vent fan flange. This will prevent them from moving around or shifting positions.
6. Re-install the vent flange back to the ceiling of your van.
Dometic Mini Heki Skylight Cover Guide
1. Locate your four Velcro strips (2 long, 2 short).
2. Peel and stick the long strips to the long sides of the plastic ceiling frame, aligning them exactly with the edges.
3. Stick the short strips to the remaining two short sides, ensuring a precise fit against the edges.
4. Wait 12 hours for the adhesive to fully bond before attaching the cover.
5. Align the cover's Velcro edges with the frame strips and press firmly to secure.
6. Fold the cover up by 1/3 or 2/3, they will attach because of the built-in magnets. The cover can remain folded while traveling.
7. The cover can remain folded while traveling.
8. Unfold and press the Velcro back into place.
500x700mm Skylight Covers Guide
1. Locate your four Velcro strips (2 long, 2 short).
2. Peel and stick the long strips to the long sides of the plastic ceiling frame, aligning them exactly with the edges.
3. Stick the short strips to the remaining two short sides, ensuring a precise fit against the edges.
4. Wait 12 hours for the adhesive to fully bond before attaching the cover.
5. Align the cover's Velcro edges with the frame strips and press firmly to secure.
6. Fold the cover up by 1/3 or 2/3, they will attach because of the built-in magnets. The cover can remain folded while traveling.
7. The cover can remain folded while traveling.
8. Unfold and press the Velcro back into place.
Other Accessories
Wall Storage Guide
For these instructions, we are demonstrating the installation of our Vertical Wall Storage - Canyon.
1. Select a suitable surface for installation. This tool-free method works on Gyprock (drywall), wood, glass, and metal.
2. Peel the backing off the Velcro strips on the unit. Line it up on the wall and push firmly to make initial contact.
3. Slowly and carefully peel the fabric storage unit off the wall, leaving just the adhesive Velcro strips stuck to the surface.
4. Rub and press firmly along the exposed Velcro strips on the wall to ensure they are completely flat with no bumps or peeling edges.
5. Align the storage unit with the Velcro frame you just secured to the wall and press it back into place.
Note: Although this uses Velcro, it is designed to be a permanent installation. Choose your spot wisely as it is meant to stay in place once installed.
For Wall Storage with Open Pocket
1. Reach inside the open pockets and push down the internal bottom supports to ensure the pockets hold their shape.
2. Load your items and tighten the cord locks to prevent rattling while driving
Premium Seat Back Storage Bag Guide
1. Loop the storage bag straps around the headrest poles of your seat.
2. Hook the left and right bottom straps around the base of the seat or any available anchoring point beneath the seat.
3. Check the alignment of the storage bag to ensure it is straight and centered on the back of the seat.
Premium Seat Back Utility Bag Guide
1. Use the snap closure at the top to secure the bag.
2. Attach the detachable bottom strap around the base of the seat or any available anchoring point beneath the seat.
3. When you want to remove the bag, it’s super simple—just unhook the bottom strap, and when you’re ready to put it back, hook the strap into the metal hook underneath the bag.
Magnetic LED Light Guide
What's in the Box:
- LED Magnetic Light
- Charging Cable
- Two Metal Mounting Tabs
- One Foam Adhesive Pad
The kit provides two different mounting options so you can install the light on different surfaces.
Mounting on Smooth/Flat Surfaces
- Peel the protective liner from the adhesive on the flat metal tab.
- Firmly press the tab onto the desired surface.
- Once the tab is secured, simply attach the LED light magnetically.
Mounting on Rough/Textured Surfaces
- Peel the two sides of the double-sided foam adhesive and press it onto the metal tab.
- Firmly press the tab onto the rough or textured surface to ensure a secure bond.
- Attach the LED light magnetically to the installed tab.
How to use
- Tap the Power Button once to turn the light ON or OFF.
- Press and hold the Power Button to adjust the brightness.
Cordless Vacuum & Air Duster Guide
Key Features & Specs:
✓ Compact Size: Easily fits inside your glove box.
✓ Dual-Speed Modes: Press for 2 seconds for Speed 1 (approx. 30 min run time) or press again for Speed 2 (approx. 12 min run time for tough jobs).
✓ Complete Nozzle Kit: Includes 5 specialized nozzles (3 for vacuuming, 2 for dusting/inflating), including a flexible long nozzle for under-seat cleaning and a carpet brush attachment.
✓ Easy Cleaning: Simple press-and-pull mechanism to empty the dust dispenser. Note: The internal filter is replaceable, not washable, but the dispenser parts are fully washable.
✓ Flexible Charging: Charge directly into the device or use the included charging station.
How to Clean Your Vacuum & Air Duster:
1. Detach: Remove the nozzle, then detach the main body.
2. Empty: Press the button to open the top of the dispenser and remove excess debris.
3. Wash: Fully detach the bottom section and the top dispenser part; these parts (excluding the filter) can be washed.
4. Filter Care: Rotate and unclip the internal filter. Gently tap or use air to clean the filter (do not wash).
5. Reassemble: Put the filter back, ensure all parts are clipped tight and well-sealed, and reattach the body.
Premium 7-Piece Cooking Set Guide
Key Features & Specs:
✓ Ultimate Space Saver: Watch as we demonstrate how this entire 7-piece set—including two pans, a kettle, a frying pan, and lids—nests down to the size of our hand. Finally, a full kitchen set that actually fits in your tiny cupboards!
✓ The Rattle Solution (Our Secret Weapon!): We were so annoyed by the sound of stainless steel clanging while driving, so we incorporated two thick heat mats that act as silent dampeners. You won't believe how quiet this entire set is when packed. Seriously, zero rattle.
✓ Cook Like You're Home: This high-quality set is made of durable stainless steel, featuring a large pot (perfect for open fire!), a medium pot with silicone handles, and a dedicated frying pan.